AWSにTensorflow GPUをセットアップする
AWS管理コンソールにログインし、以下の画面を表示します。
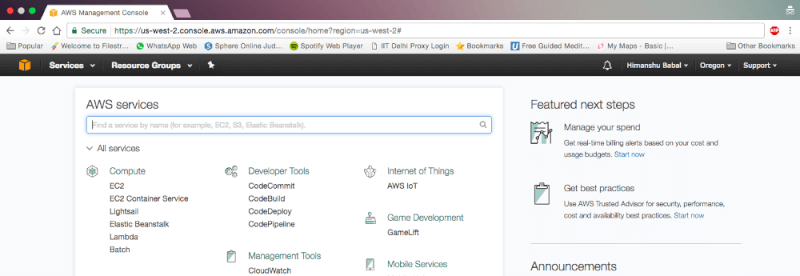
「EC2」を選択してください。
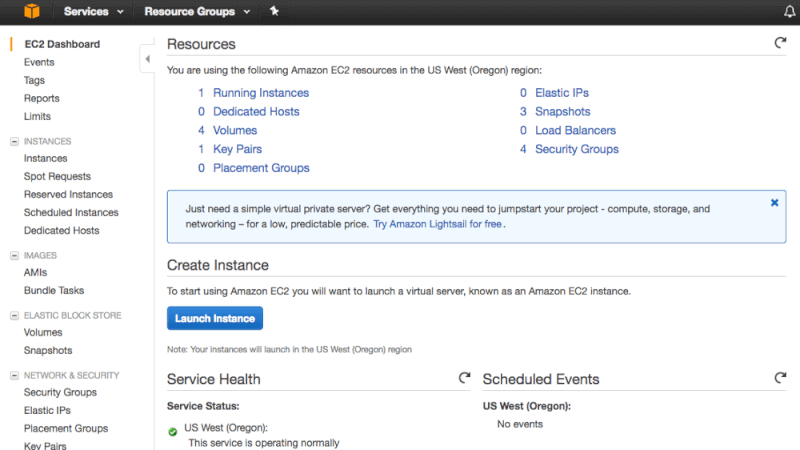
「Launch Instance」をクリックしてください。
2つの選択肢があります。
- ゼロからインスタンスを作成する (あまり簡単ではありません)
- 既存のAMIを利用する
Amazonが提供するディープラーニングのためのAMIを使いましょう。
パブリックAMIからインスタンスを作成する
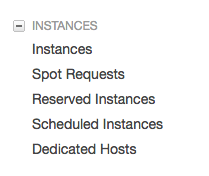
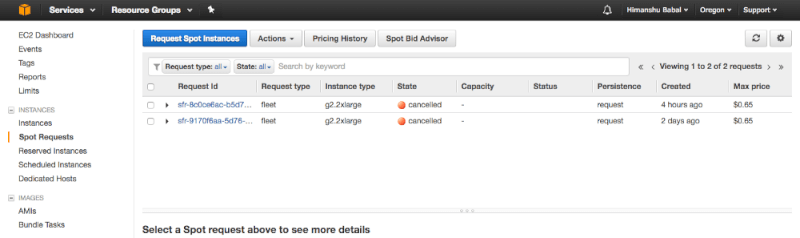
サイドバーから「Spot Requests」をクリックします。
これは安価なオプションです。
詳細は https://aws.amazon.com/ec2/spot/ を参照してください。
「Request Spot Instance」をクリックします。

“AMI” Selectを選択します。
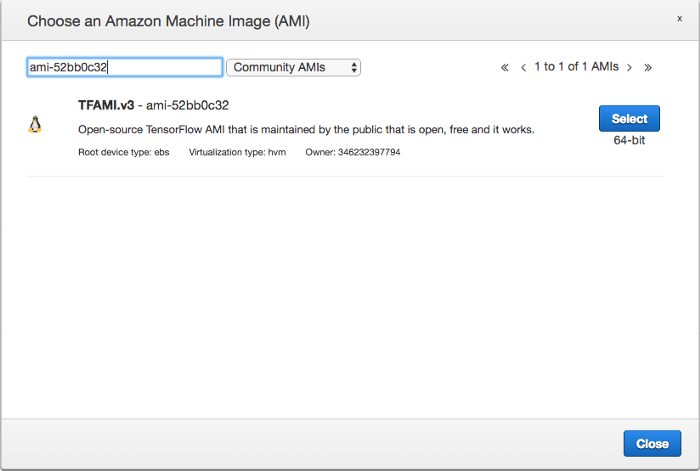
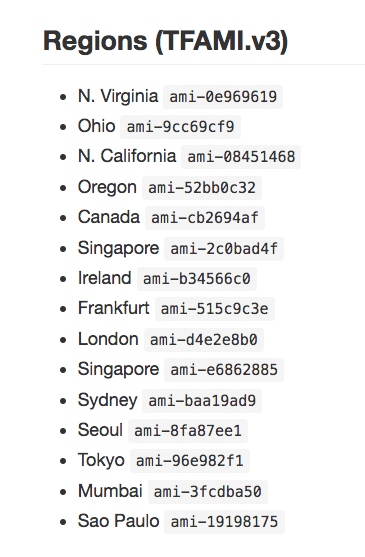
「Community AMIs」を選択し、あなたのリージョンのAMIコードをタイプして、「Select」をクリックします。
“Instance type”は、 SelectをクリックしてGPU Instanceを選択します。
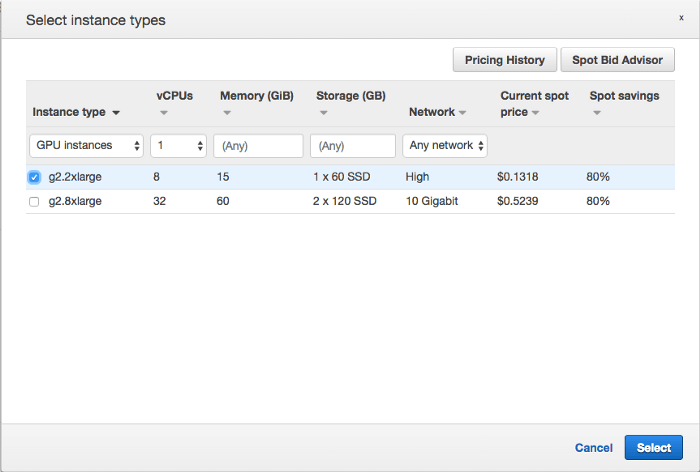
“GPU Instances” でフィルターをかけ、“g2.2xlarge”を選択します。
“Allocation strategy”は‘Lowest price’に、“Maximum price”は‘Use automated bidding’ にしておきます。
Nextをクリックします。
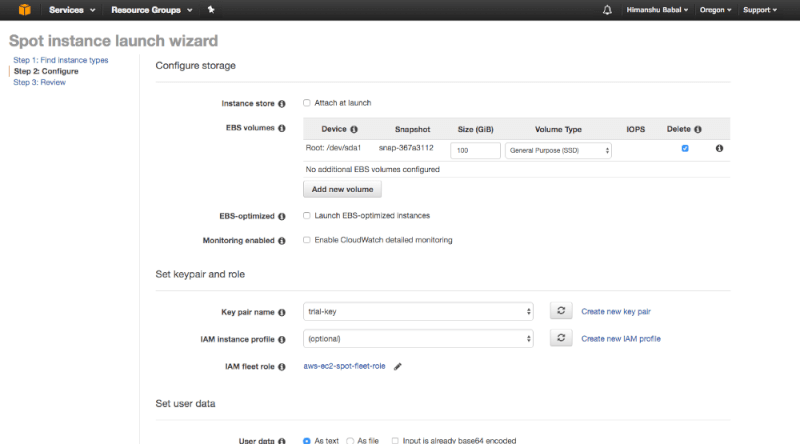
“Create new key pair” をクリックします。
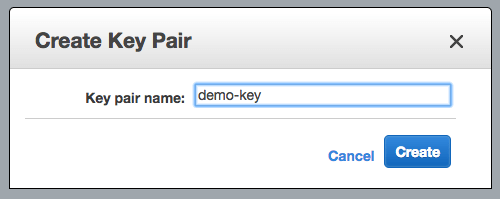
“.pem”ファイルをダウンロードし、安全な場所に保存します。
このキー無しではインスタンスを起動することができません。
また、キーのコピーは無効となるのでオリジナルのみを保管してください。
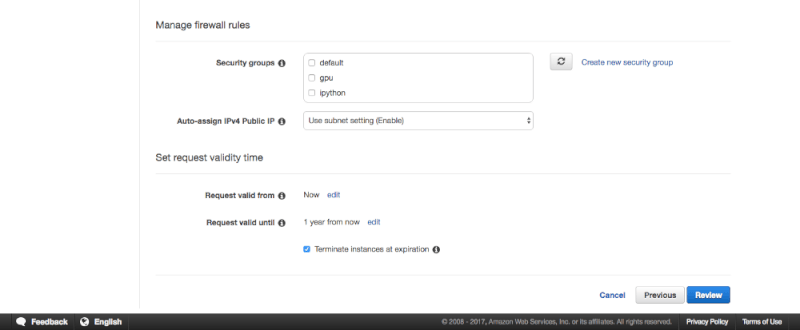
“Create new Security Group”をクリックします。
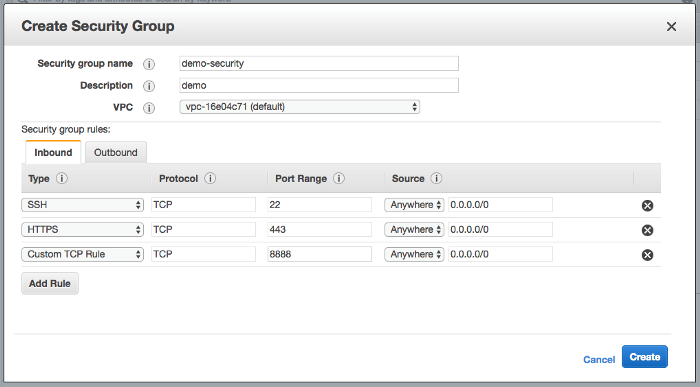
セキュリティー設定を上記と同様に記入します。
Port‘8888’はJupyter notebookをホストするポートです。
他のフィールドはそのままにしておきます。
Reviewをクリックします。
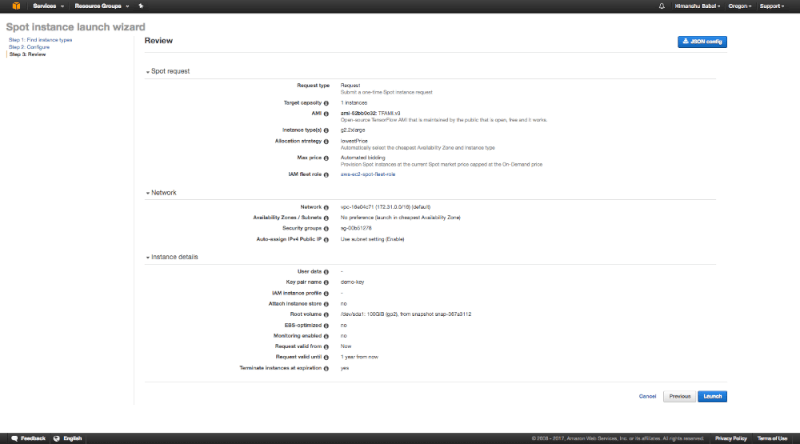
最後に”Launch” をクリックします。
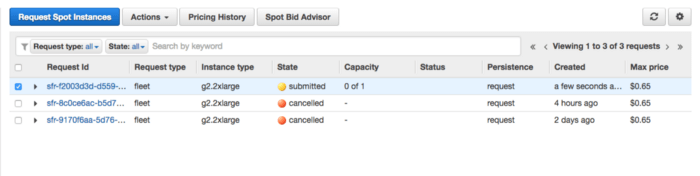
1~2分間で、‘active’に変わるはずです。
サイドバーからInstancesをクリックします。
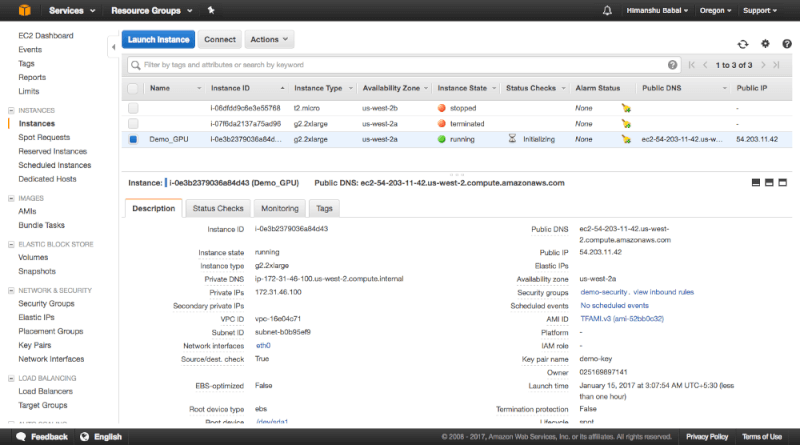
ご覧の様に、’Demo_ GPU ‘が’running’のステータスになっています。
インスタンスが完全に起動しました。
次のステップではインスタンスに接続します。
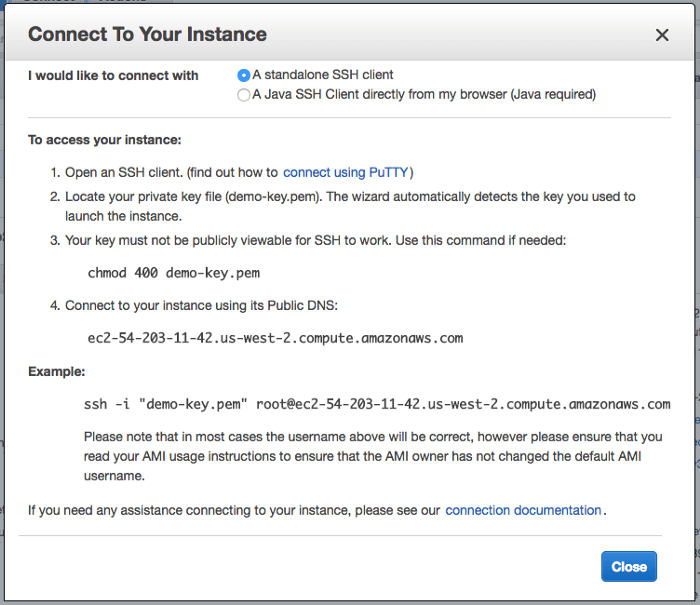
SSHを使用してインスタンスに接続する
active Instanceを選択し、“Connect”をクリックします。
ターミナルを開きます。(Mac/Linuxの場合)
Windowsの場合はPuTTYを使用します。
.pem ファイルのあるディレクトリに移動します。
私の場合は “~/Documents/AWS” でした。
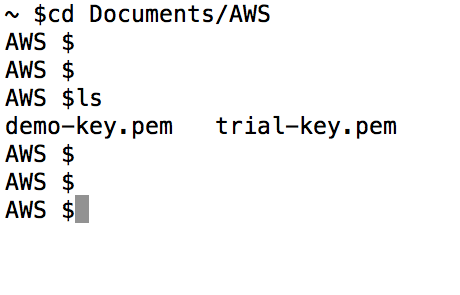
“sudo chmod 400 demo-key.pem”と入力します。
例の中からSSHコマンドを入力します。私の場合は以下でした。
sudo ssh -i “demo-key.pem” ubuntu@ec2–54–203–11–42.us-west-2.compute.amazonaws.com“root -> ubuntu”に置き換える事を忘れないでください。

yes と入力します。
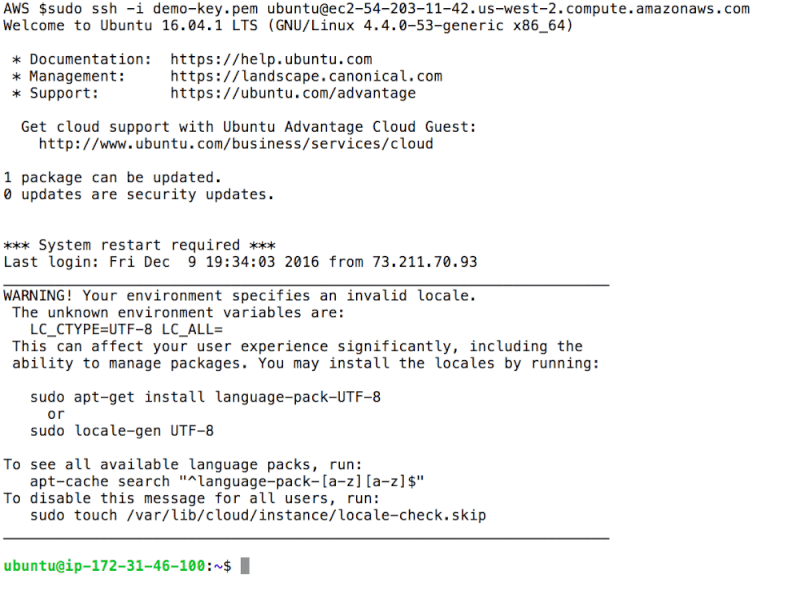
SSHで仮想マシンに接続されました。
次のステップでは、Jupyter notebookにブラウザ経由でアクセスできるようにします。
Jupyter notebookにブラウザ経由でアクセスする
始めにJupyter Notebookをインストールします。
sudo pip install jupyter“ipython”と入力します。
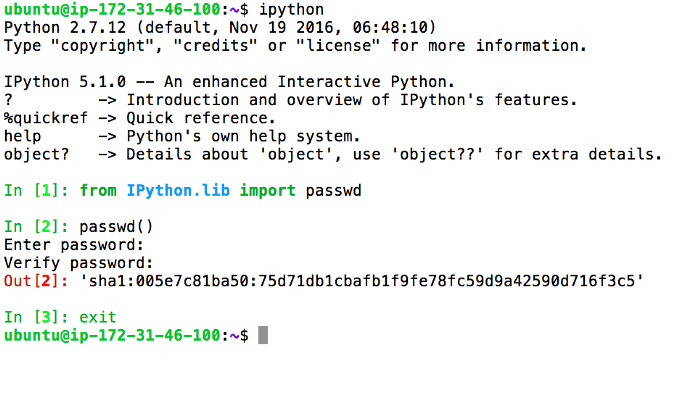
from IPython.lib import passwd
passwd()
‘sha1:005e7c81ba50:75d71db1cbafb1f9fe78fc59d9a42590d716f3c5’Sha1を安全な場所に保管します。後で必要になります。
下記の通り入力します。
jupyter notebook --generate-configウェブからアクセスするためには、Jupyter サーバーのための証明書を作成する必要があります。
私はCertsディレクトリに証明書を保管しようと思います。
mkdir certs
cd certs
sudo openssl req -x509 -nodes -days 365 -newkey rsa:1024 -keyout democert.pem -out democert.pem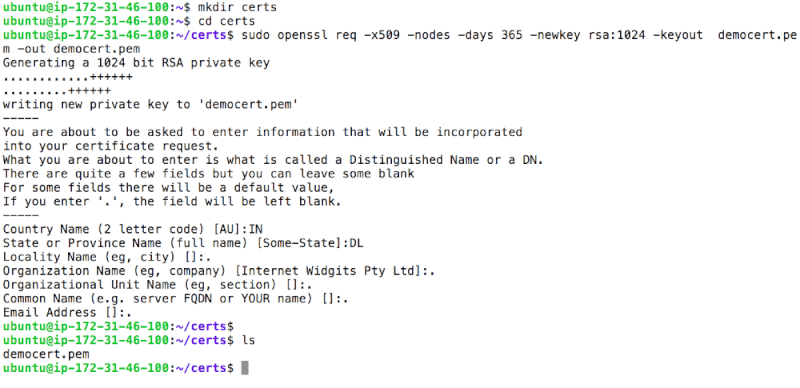
”Democert.pem” が取得されたはずです。
これからJupyter コンフィグレーション・ファイルを編集します。
cd ~/.jupyter/
vi jupyter_notebook_config.py“i”を押して編集を始めます。
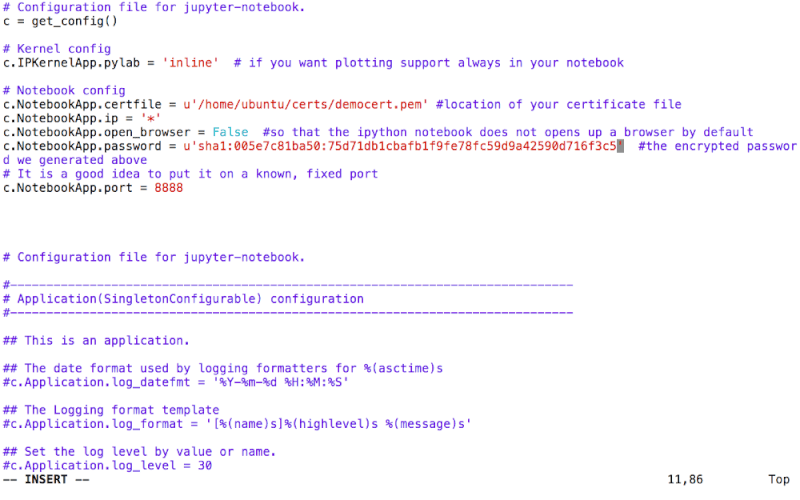
# Configuration file for jupyter-notebook.
c = get_config()
# Kernel config
c.IPKernelApp.pylab = 'inline' # if you want plotting support always in your notebook
# Notebook config
#location of your certificate key
c.NotebookApp.certfile = u'/home/ubuntu/certs/democert.pem' #location of your certificate file
c.NotebookApp.ip = '*'
c.NotebookApp.open_browser = False #so that the ipython notebook does not opens up a browser by default
c.NotebookApp.password =
u'sha1:005e7c81ba50:75d71db1cbafb1f9fe78fc59d9a42590d716f3c5' #the encrypted password we generated above
# It is a good idea to put it on a known, fixed port
c.NotebookApp.port = 8888編集を終了するには“esc”、ファイルを保存してvim editor を終了するには”:wq” をコマンドします。
ホームディレクトリの中に“Notebooks”フォルダーを作成し、Jupyter notebookを保存します。
cd ~
mkdir Notebooks
cd Notebooks
Type
nohup jupyter notebook
to start the server.
“nohup” ensures that the server is running even if you close ssh connection to the server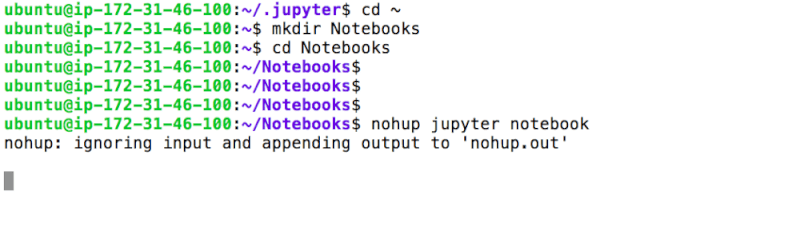
ターミナルを直接終了することにより、接続を切断できます。
新しいターミナルインスタンス、新しいタブ、SSHサーバーを開き、Notebookディレクトリに移動します。
cat nohup.out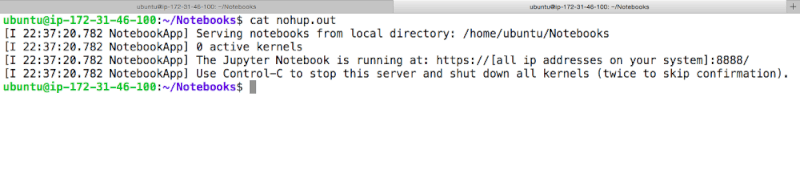
The Jupyter Notebook is running at: https://[all ip addresses on your system]:8888/あなたのパブリックIPアドレスがAWSコンソールから確認できます。
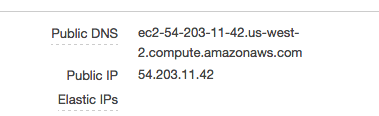
ブラウザに以下の様に入力します。
https://ec2–54–203–11–42.us-west-2.compute.amazonaws.com:8888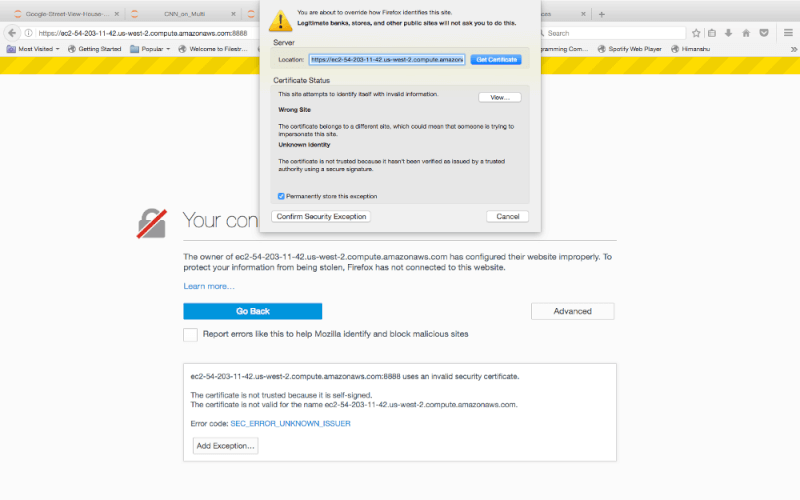
“Add Exception”をクリックし、続いて“Confirm Security Exception”をクリックします。
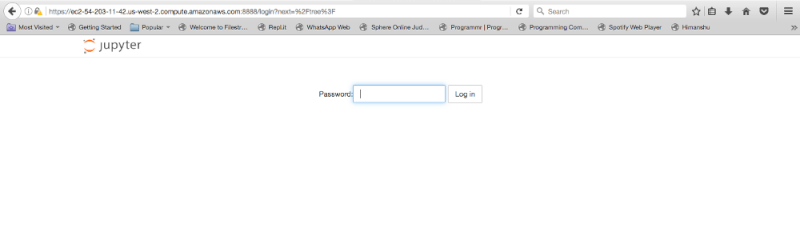
パスワードを入力します。
新しいiPython notebookを作成してtensorflowをテストしましょう。

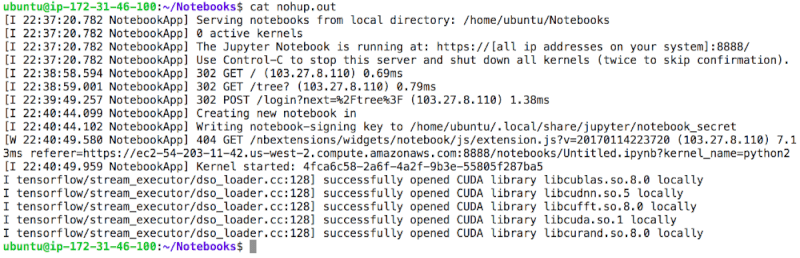
ご覧の様に‘tensorflow’がインポートされました。
アウトプットにCUDAライブラリが含まれているので‘nohup.out’はGPUが使用中である事を示しています
もしサーバーを終了したかったり、またはport:8888が他のサーバーによって使用中の場合
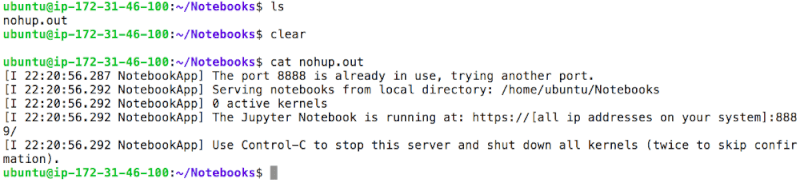
Port 8888 already in use既に稼働しているサーバーを終了するには
lsof nohup.out
kill -9 <PID>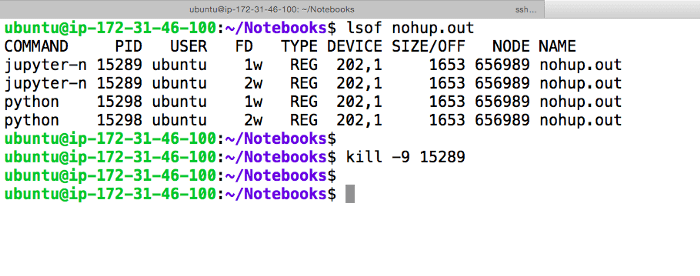
作業が終わったら、”Spot Request”のキャンセルを忘れないでください。
Spot Requests -> Select the request -> Action -> Cancel Request
原文
https://chatbotslife.com/aws-setup-for-deep-learning-fda04db6df75
チャットボットライフとの提携により、翻訳し掲載しています。
チャットボットライフとは、最新のボット、AI、NLP、ツール等を扱うメディアです。